In this article
Check that each receipt proves the relevant purchase, matches its expense line and gives the reviewer enough context to decide.
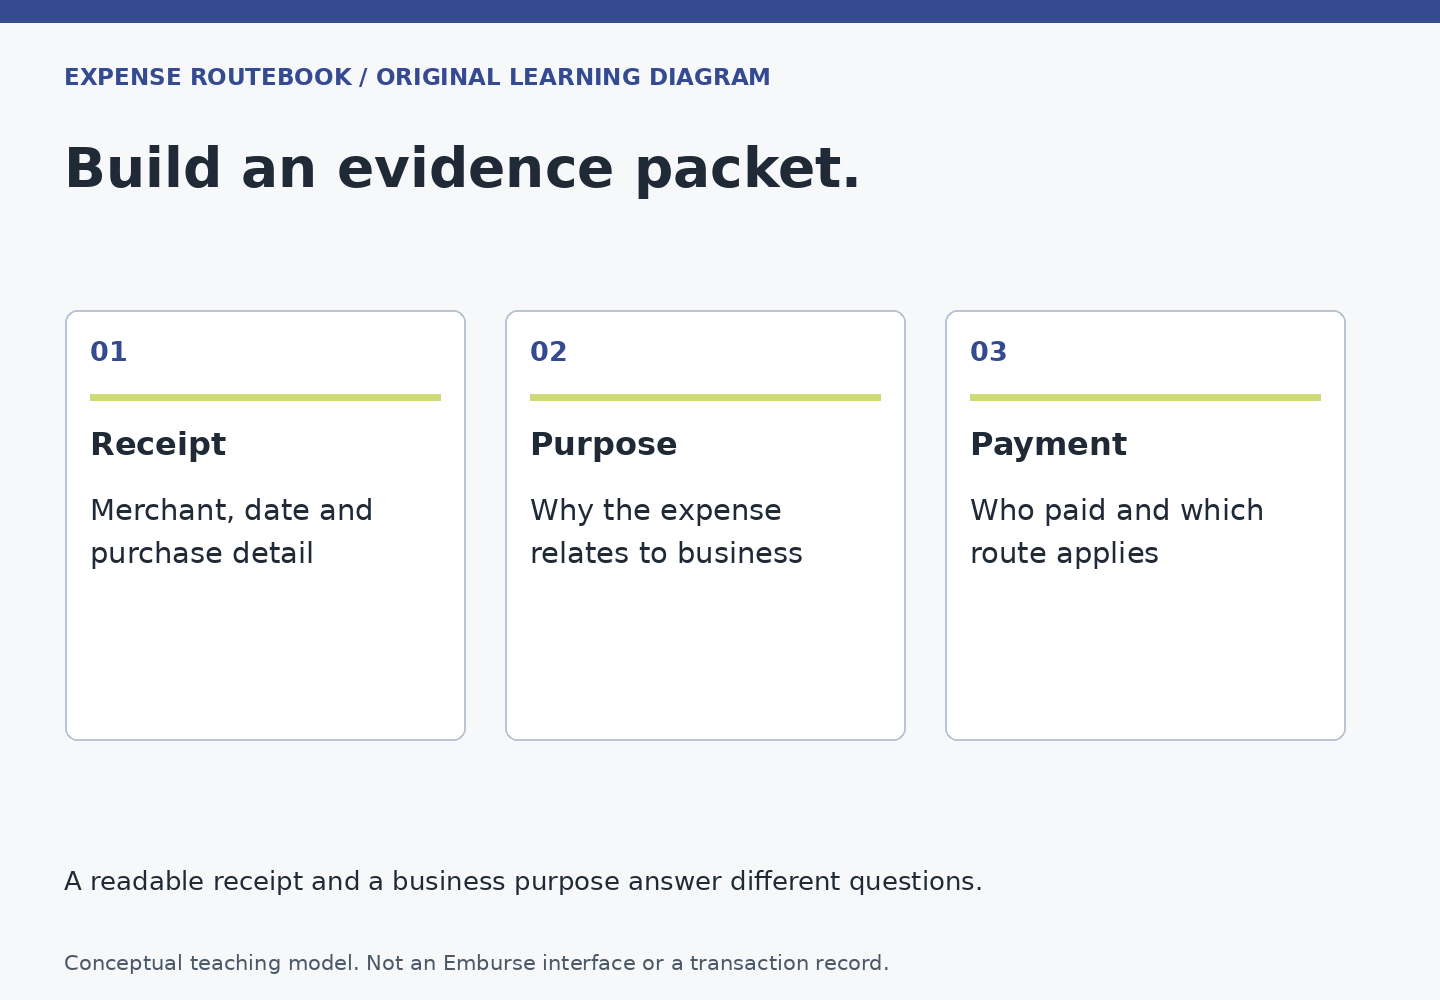
A sharp photograph is a good start, but it is not the whole evidence check. The reviewer must be able to connect the document to the purchase you are reporting. A card authorization, an order confirmation and a final itemized receipt can answer different questions. Keep their purposes separate rather than assuming that any image with an amount is interchangeable.
Ask five questions before attaching it
- Who supplied the goods or service? The document should make the merchant identifiable.
- What happened? Look for the goods, service or itemization relevant to the expense.
- When did it happen? Distinguish purchase, service, stay and payment dates where they differ.
- What amount and currency are supported? Check the final total and any separate adjustment.
- Which expense line does this prove? Match the document to the existing record before adding another.
This is an editorial preparation test, not a universal legal receipt standard. Your employer may require additional details or accept specific alternatives. A readable image can still be insufficient under that policy; an unusual document may be acceptable only after the responsible team confirms it.
Compare the extraction with the original
Professional uses receipt transcription, but its OCR FAQ acknowledges that photo quality and receipt format affect results. Treat extracted fields as a starting point. Compare the merchant, transaction date, currency and total with the image before submission.
Watch for a subtotal mistaken for the final amount, a reversed date interpretation or a tip excluded from the recorded total. For a hotel, compare the stay dates separately from the date the folio was issued. If a field is unclear, obtain a better original from the merchant or ask the internal policy owner how to document the uncertainty. Do not rewrite the underlying evidence to make it fit the extracted value.
Keep supporting documents together without doubling the claim
A meal might have an itemized receipt and a separate final payment slip. They can support one purchase. Professional’s additional-image guide describes a linked zero-amount line for added supporting images. A second image therefore should not automatically become a second reimbursable charge.
In a fictional example, Jordan uploads a restaurant’s itemization showing 48 and a signed payment slip showing a final total of 56. Jordan checks the employer’s tip policy, records one eligible expense at the appropriate amount and attaches the supporting documents through the permitted workflow. Two documents do not justify two claims. Use the duplicate review guide when a receipt and card feed appear separately.
When a receipt is genuinely missing
First search the merchant account, booking record or original email, and request a replacement where practical. Record what is missing and what you have tried. Then ask the policy owner whether an approved alternative or missing-receipt process exists. Never manufacture a receipt or submit a different purchase’s image merely to satisfy an attachment field.
Public Professional guidance needs careful reading here. Its general missing-receipt article describes submission with a flag, while its mobile report guide says required receipts must be attached before submission. Those pages do not establish one universal rule for every interface and organization. Follow your actual configuration and administrator’s instructions; do not switch interfaces merely to bypass a requirement.
Preserve context and limit exposure
Keep the business explanation alongside the evidence. A receipt can show that a meal occurred without explaining the work purpose or identifying attendees required by policy. Our business-purpose guide helps supply that missing context without turning the note into a long narrative.
Use approved storage and submission channels. Receipts can expose travel locations, personal purchases and partial account identifiers. Do not post them to public forums or an independent help website. If support requests an example, use the authorized channel and ask what can be masked without obscuring the problem.
Finish by reopening the saved line and confirming that the intended image is attached and legible at review size. If it is attached to the wrong line, use the correction guide for the current report stage. The completed result is a traceable connection between purchase, document, explanation and claim.